Cisco Unity Express (CUE) is the complement of Cisco Call Manager Express (CME), which takes care of the Voice Mail administration and it also includes basic ACD’s (Automatic Call Distribution) functionality, we can even say that CUE also is to some extent like a tiny Contact Center, and that’s because it comes with the following three applications:
- Voicemail
- Auto Attendant
- Adminstration via Telephone (AVT)
Both CME and CUE run from the Cisco ISR (Integrated Services Router), that means you don’t have to buy any additional server to provide any of the services provided by them.
CME was developed as an IOS feature that you can choose when you are selecting the services you are going to provide with your router ISR
Having the required hardware to provide voice services, like, Voice Cards (FXS, FXO, T1/E1, etc) and the necessary Digital Signal Processor’s (DSP) commonly refered as PVDM’s, along with the IP Phones and their phones’ firmware, HTML files, and the proper IOS including the CME feature, loaded into the router file system, will make you realize that at the end of the day, CME is just a piece of software that comes embedded into the router (ISR) Operating System (IOS).
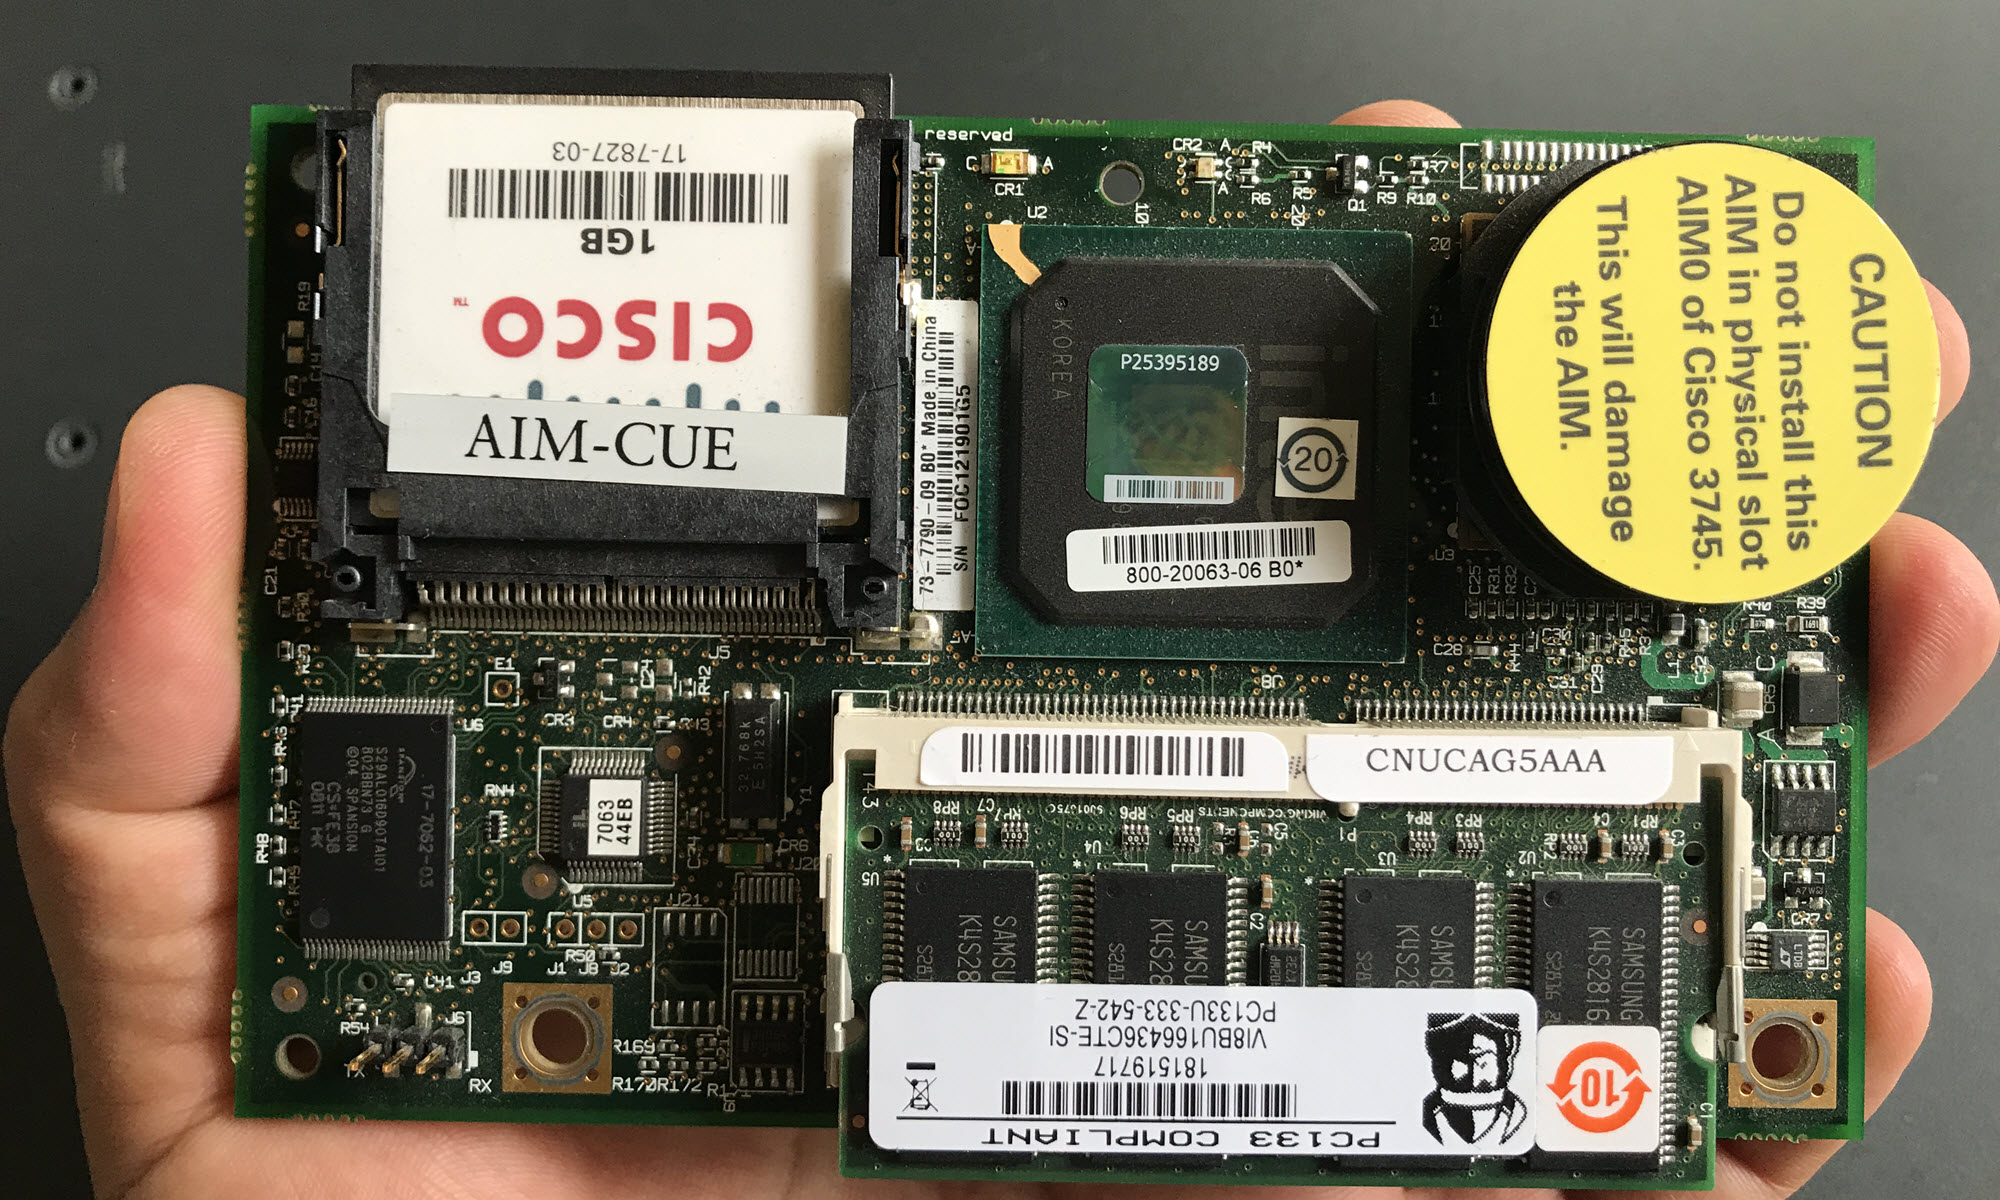
That is not the case for CUE, CUE is not just a piece of software, CUE is not just another IOS feature, it was built as a separated piece of hardware, CUE is in fact a module you have to buy and install in your ISR router.
You’ll see that CUE actually comes in two different modules:
- NME-CUE
- AIM-CUE
The main difference between NME and AIM is the amount of voice messages you can store on each of them, the AIM modules are smaller than NME, when it comes to storage AIM modules comes with a Compact Flash (CF) memory, usually its size is 1GB, on the other hand, NME-CUE comes with regular 5.4″ HDD, usually with sizes in the order of hundreds of GB.
Where to go from here?
The following options are available for you to go now: