Basic configuration
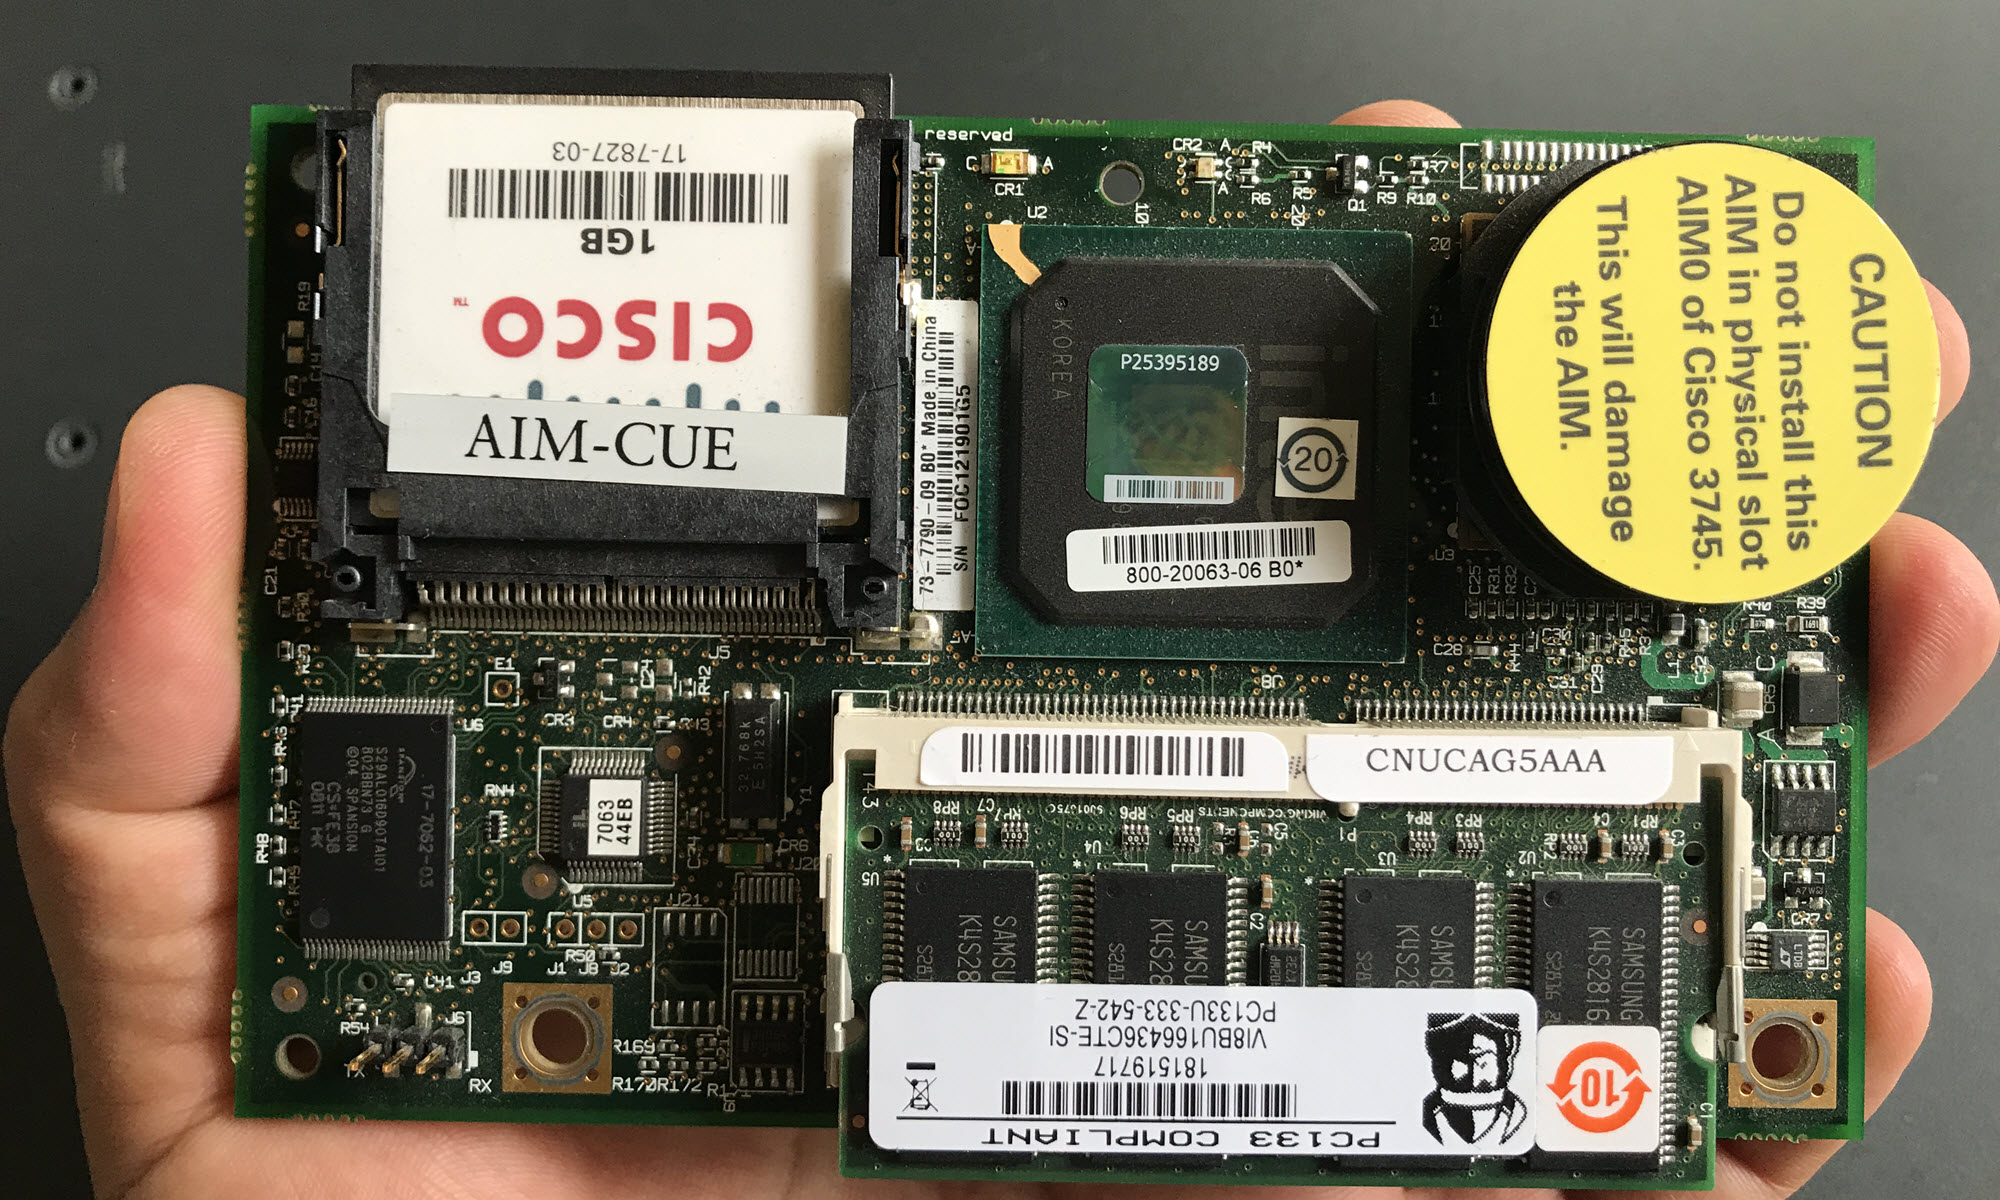
The AIM-CUE configuration wizard will allow us to configure the basics, Hostname, Domain name, NTP, TZ(Time Zone) and the Administrator credentials.
In our particular case, for our LAB we are going to configure it as follow, see screenshot:
Verify NTP
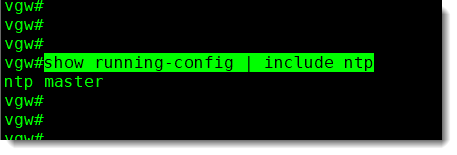
The NTP in our LAB is configured on the same Voice Gateway, we have a Cisco 3845 configured as the NTP master, and we can double check that everything is in place using the following CLI command:
- show running-config | include ntp
Verify DNS
We can also double check DNS, in our LAB the DNS server is running on a Linux CentOS Virtual Machine, and we can use the following CLI command to verify it.
- nslookup cue.tdtlab.com
Starting AIM-CUE configuration wizard
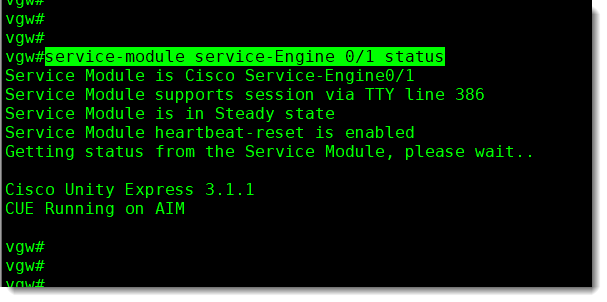
Before actually starting the AIM-CUE configuration wizard a good idea is to check the current status of the module, for that we can use the following CLI command, see below screenshot.
- service-module service-Engine 0/1 status
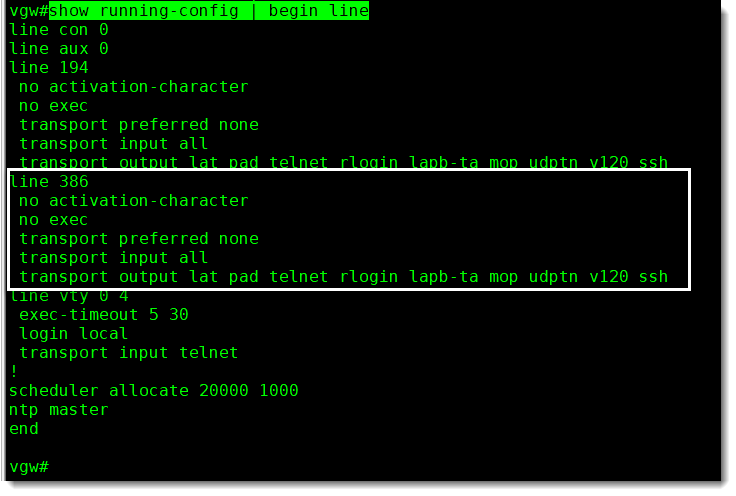
As you can see in the above screenshot the AIM-CUE status is “steady” and it “supports a session via TTY line 386“, that is enough information for us to just go ahead and initiate a session, but before doing that we can check the configuration for that particular TTY line.
- show running-config | begin line
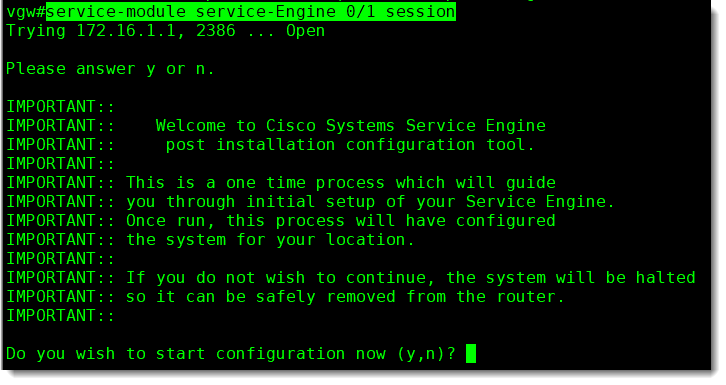
Once we’ve verified the settings for Line TTY 386 we can open a session using the CLI command show below.
-
service-module service-Engine 0/1 session
Hostname and Domain Name
I don’t know why but the system ask you twice for confirmation as you can see below, only after that double confirmation you can start configuring the module, the two first are, Hostname and Domain Name.
DNS
Even though we’ve verified that DNS is properly configured before in this article we are going to skip this part for now, we can set this later, so here we have to confirm also twice, se below:
NTP
Next is the IP address of our NTP, that also something we’ve already verified before hand, in this particular case as I told you our Voice Gateway is acting as the NTP so here we can just hit Enter to continue.
We don’t have a secondary NTP server in our LAN so here we can hit Enter to bypass.
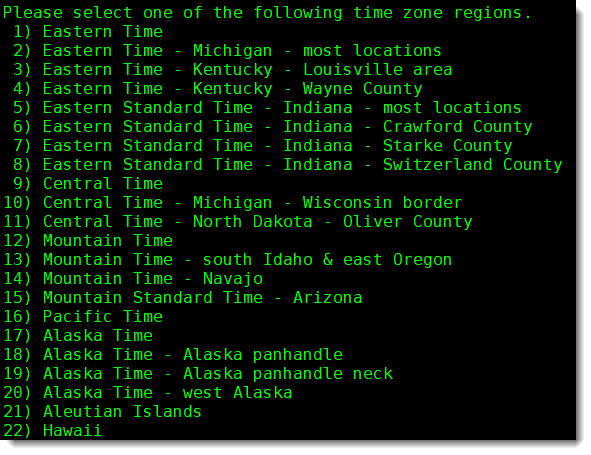
Time Zone
Here we start setting the “Time Zone”, first select your location, in our particular case, number “2” for the “Americas” (North, Central, and South).
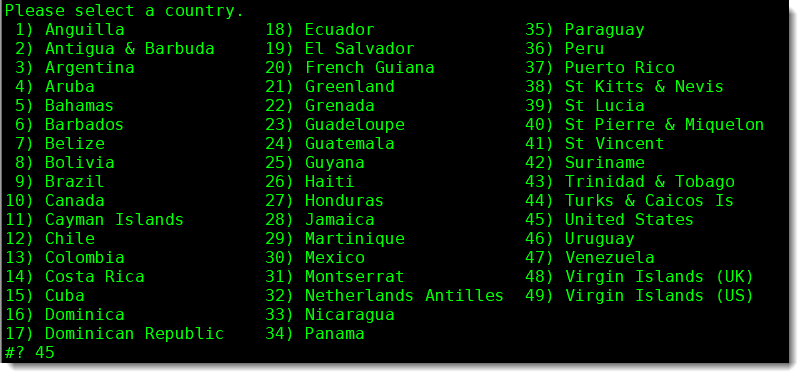
And then select the number which correspond with the country.
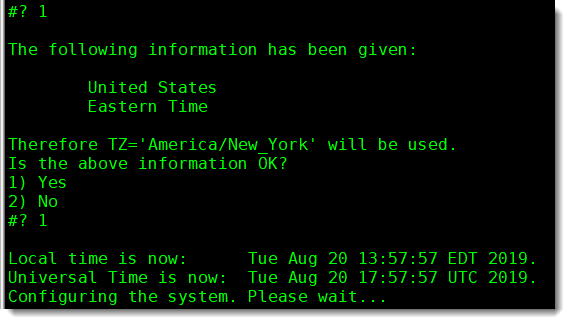
Now the region
The final confirmation and configuration start automatically immediately after.
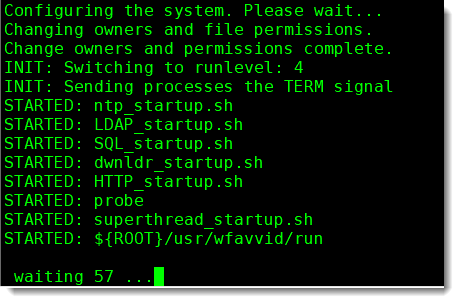
Configuration in progress
While the configuration is making progress you will see a counter on the screen, see below:
Administrator credentials
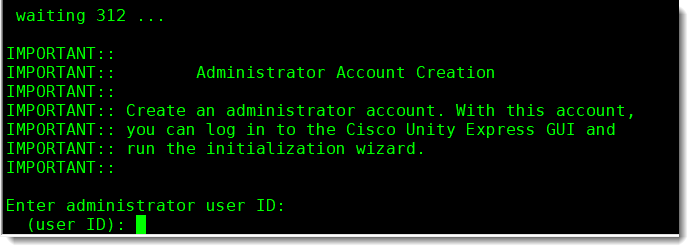
The next step is to define the administrator credentials, that is the User ID and its Password.
System On Line
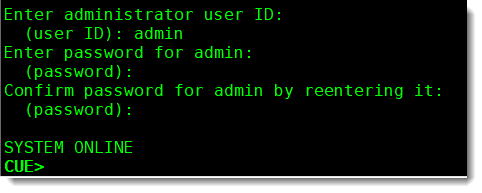
OK, the last step was then the administrator credentials, as you can see below, immediately after entering the User ID and its Password the system shows SYSTEM ONLINE including the configured hostname (CUE) in the system’s prompt.
Enable has no password
The first thing we can do once in the CUE could perfectly be to change to the privileged EXEC mode using the CLI command “enable“.
Because the system was reset to factory default we don’t have a password configured yet, so just press Enter.
Show Hosts
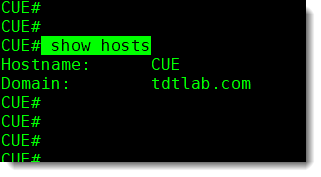
One interesting CLI command we can use to wrap up this article is “show hosts” to verify the info we just entered, see below screenshot.
- show hosts
Congratulations! job well done! You have successfully configured the Basic part of the AIM-CUE, once this part is complete we can start working in the integration of AIM-CUE with CME, but we’re going to need a few more articles to cover all of that.
